My husband, Kevin, and I decided to start teaching our girls (5 and 3) about money at an early age.
The first step was to build each of them their own 3 part bank, so that they could practice using their allowance money wisely.
Here is how the banks turned out:

Note: As an Amazon Associate I earn from qualifying purchases. This post contains affiliate links, meaning that if you choose to click through and make a purchase, I will receive a small commission at no extra cost to you.
We knew we wanted to have three different jars: one for money to give, or tithe, one to spend, and one jar for money to save for something special.

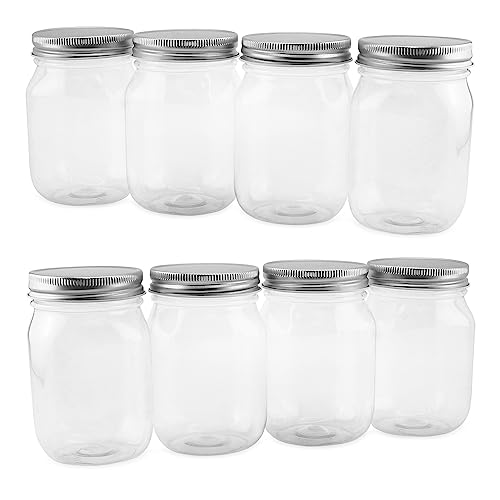
I love mason jars, and was delighted to find that they make these jars out of plastic. Did I mention that our kids are 5 and 3? I love mason jars, but there was no way I was giving them anything made of glass- haha!
We found the lids online. They were a little tricky to get on the plastic jars at first, but they do fit. You just have to wiggle them a little bit to get them on.
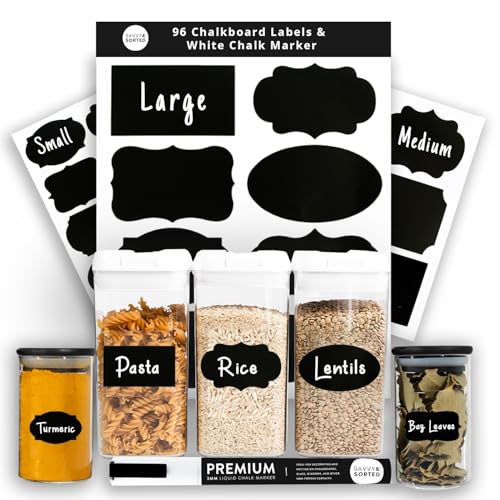
I labeled each jar with these chalkboard label stickers. (The chalkboard marker was included when I ordered the labels.)
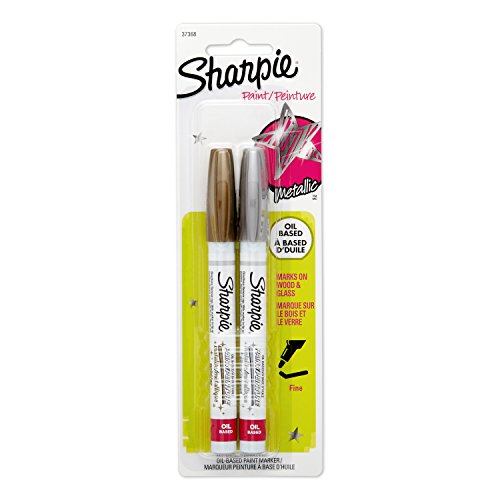
Kevin then built a wooden base for the jars (I included his building directions below) and I wrote each girls’ name on the base using these paint markers. (We already had a whole collection of these markers since we use them to paint rocks.)

I’m loving how these banks turned out.
Want to make your own? Here’s how to do it:
Bank Supply List:
- 1/2″ plywood
- White paint
- Plastic mason jars
- Coin slot lids for mason jars
- Chalkboard labels (comes with chalk marker)
- Paint markers

How to make your bank:
(From my husband, who actually made it- haha!)
- I had several pieces of 1/2″ plywood leftover from a project.
- I measured out the bottom piece of wood (11.75″ x 4.5″) and cut it with a table saw. You could use a circular saw as well.
- Once I had the bottom piece cut, I cut the sides. The two long pieces were 11.75″ long and 1″ tall.
- Then I cut 4 small pieces that would fit between the length side pieces. The 4 divider pieces were each 3.5″ long and 1″ tall.
- I sanded each piece of wood with a Dewalt Random Orbiter Sander.
- Then I used clamps to hold the two long pieces in place while I nailed them in. I used a nail gun and 1.25″ nails.
- Then I inserted the 4 divider pieces, and just held those in place while I nailed them in.
- I used some wood filler for any little touch ups or small gaps that I wanted to cover.
- The girls painted their own banks. I will admit that I also touched up their painting because there were paint drips and large amounts of unpainted surfaces. I put 2 coats on each base.

Me again. 😉 I think Kevin did a great job with the banks. What do you think? Here’s a little diagram with all of his measurements:

Oh, and be sure to click here to read all the details about how we use the banks with the girls, what their allowance looks like, etc.
Thanks for reading,
-Laura
You might also like:
Road trip ideas for kids [toddler and preschool]
11 brilliant ways to organize kids’ art supplies
Pin it:


Leave a Reply